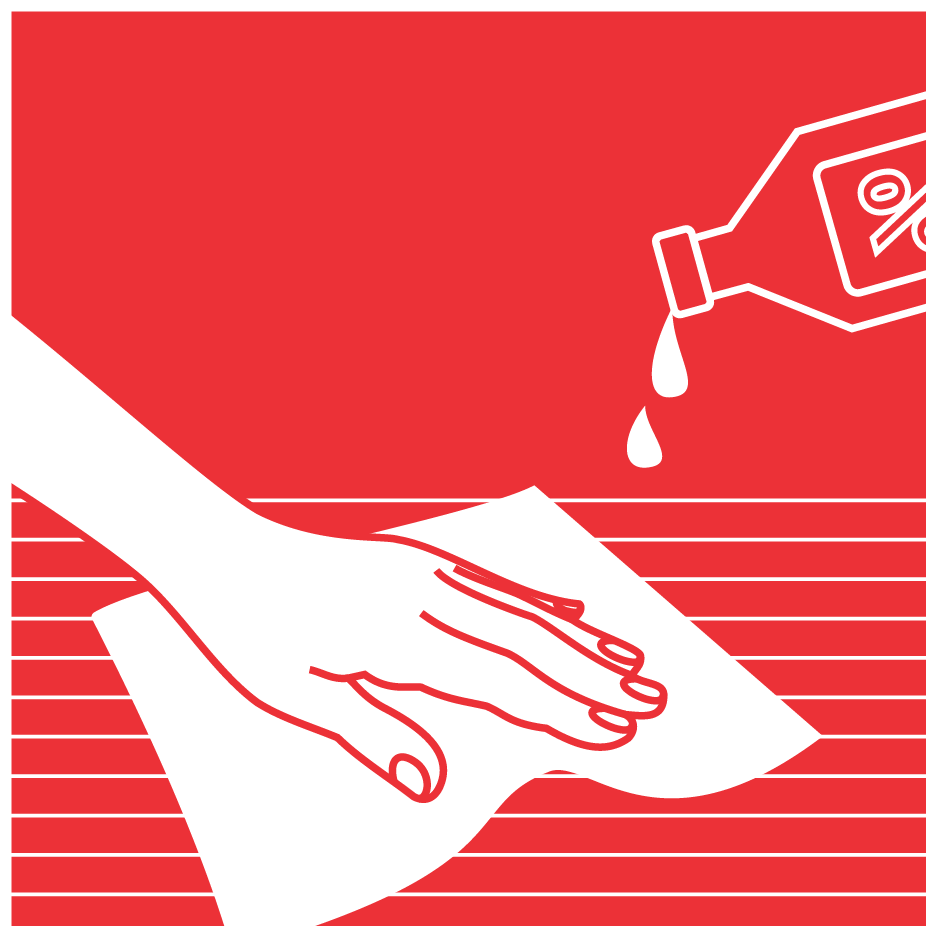
1. Dry the position to be flat and smooth before putting on the strip
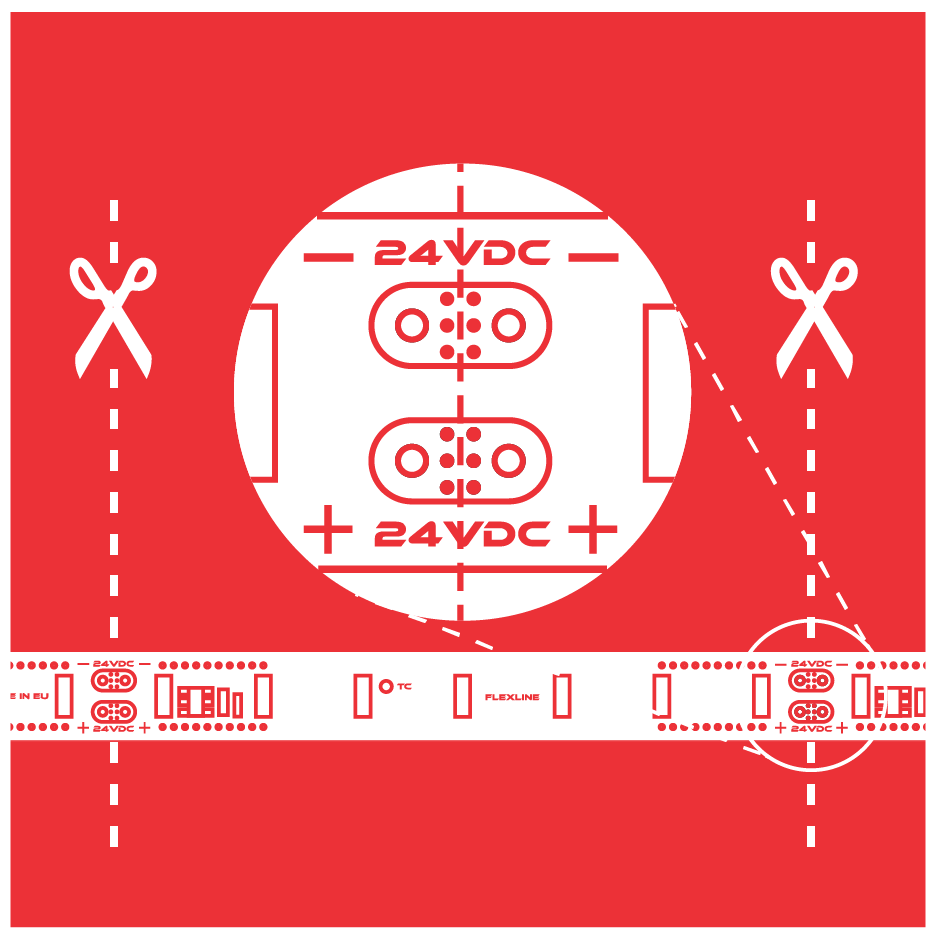
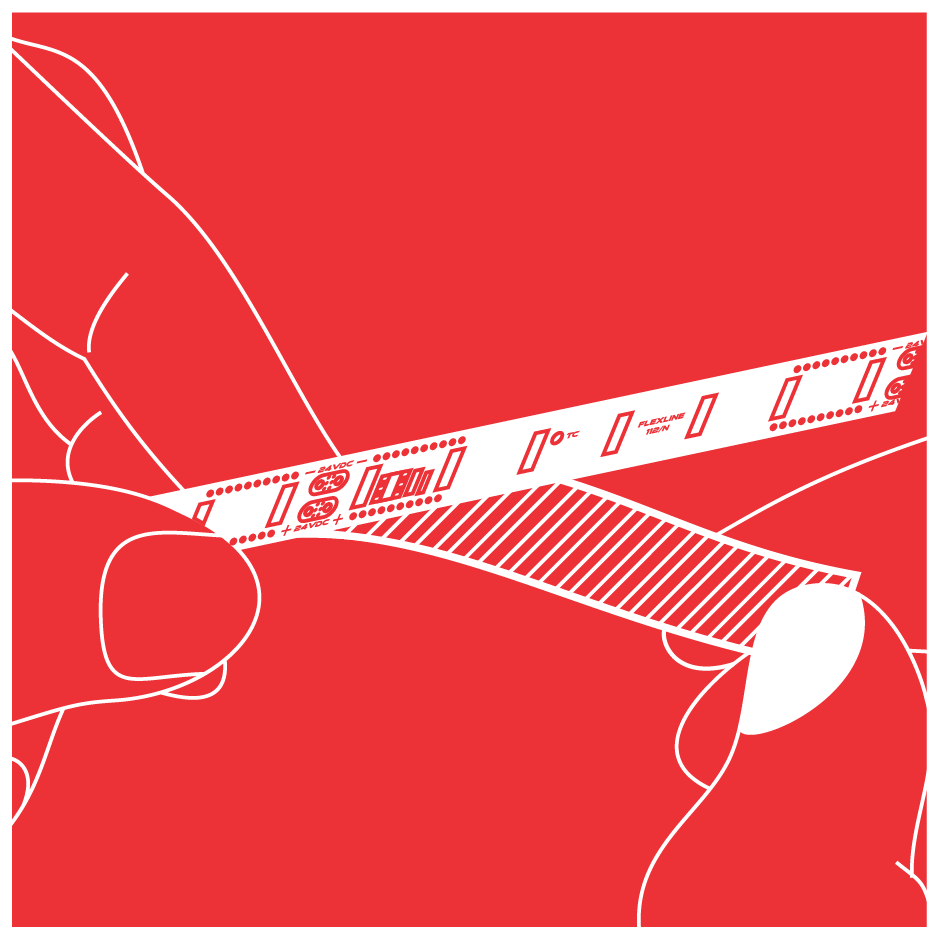
2. LED tape can be cut only between soldering pads.

3. Solder wires on soldering pads (label +/-). The solder temperature may not exceed 350 for maximum duration of 2 seconds.
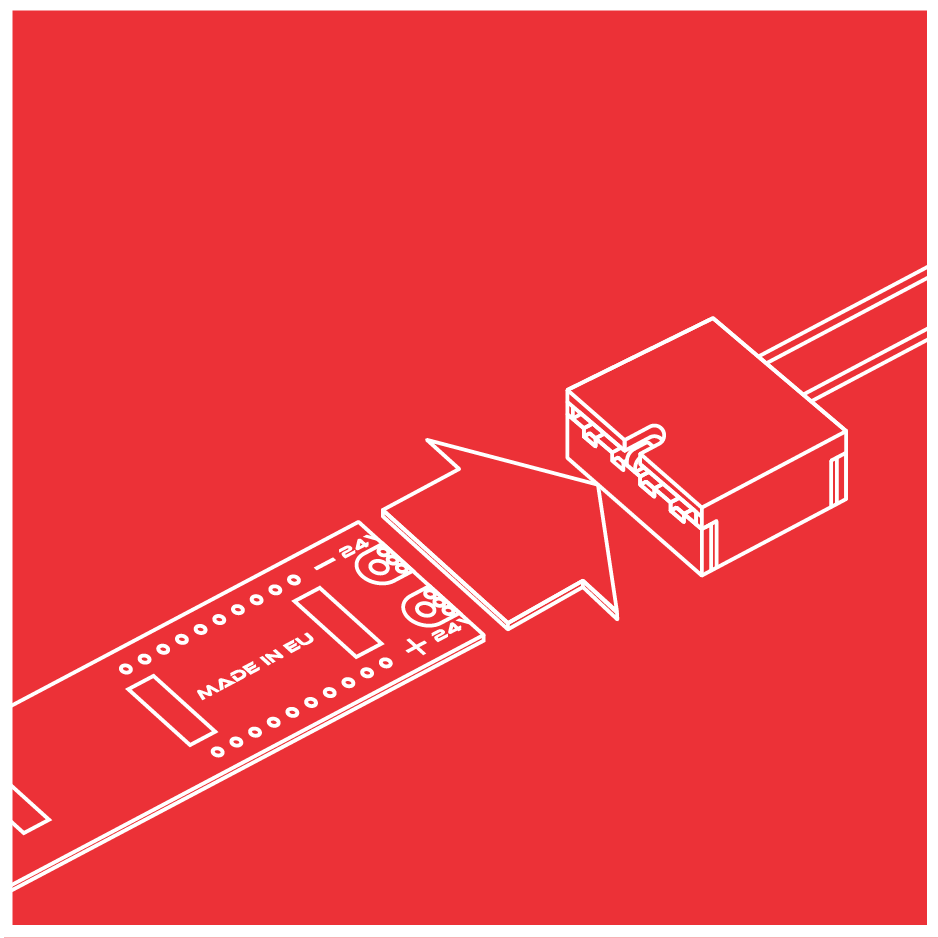
4. You can also connect strips using LED tape connectors.connectors.
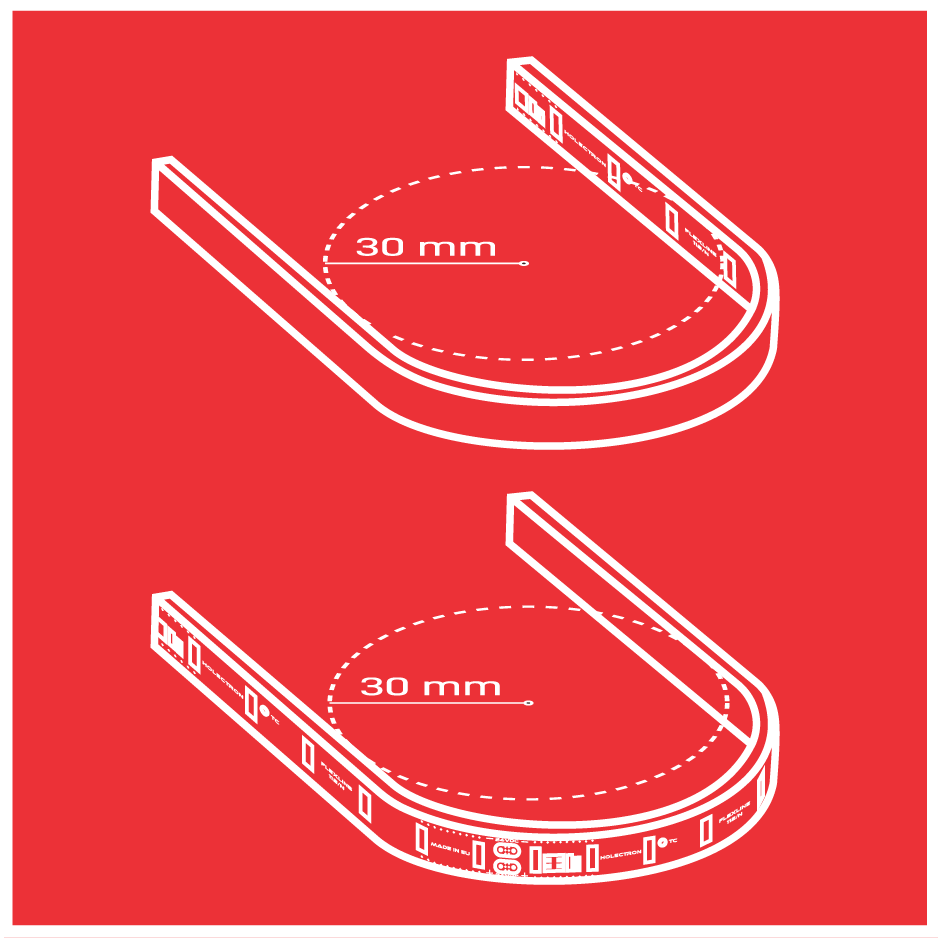
5. LED tapes are bendable. Minimum bend radius is 30 mm.

6. LED tapes cannot be bent or twisted in the demonstrated directions.
7. Remove the adhesive tape from the back side of the LED tape.
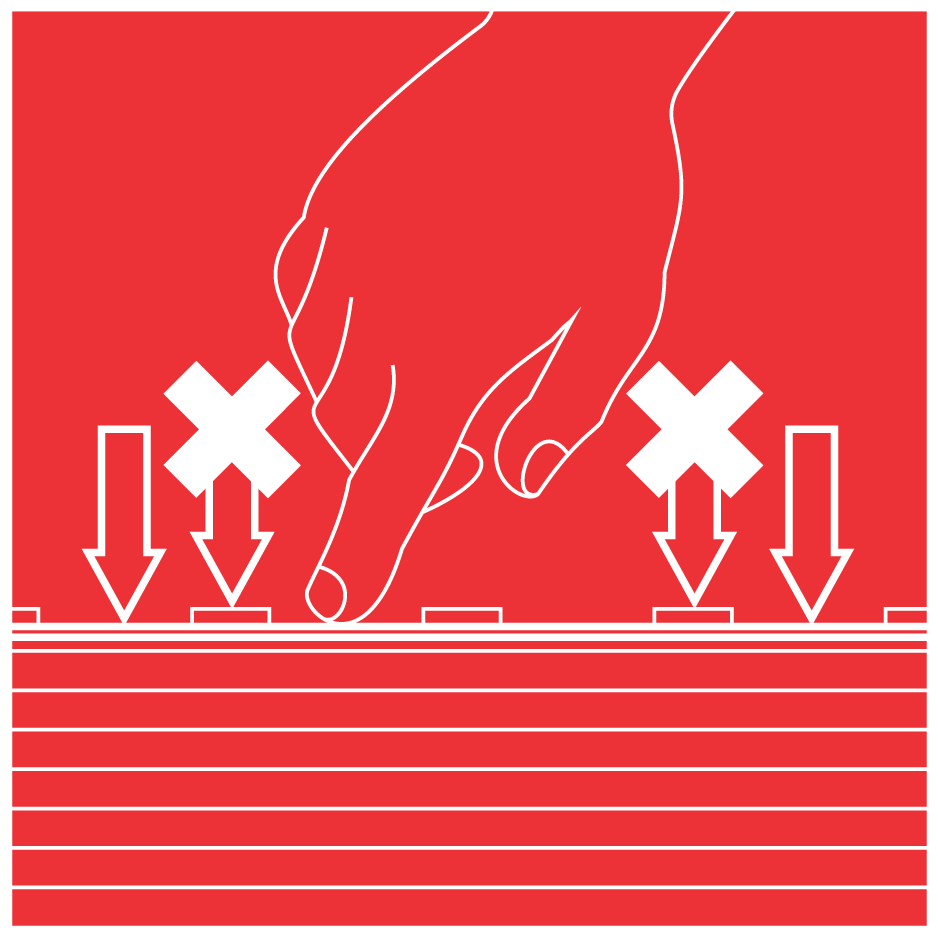
8. Press the LED tape gently between electronic components to stick it to the surface. Avoid pressing electronic components.
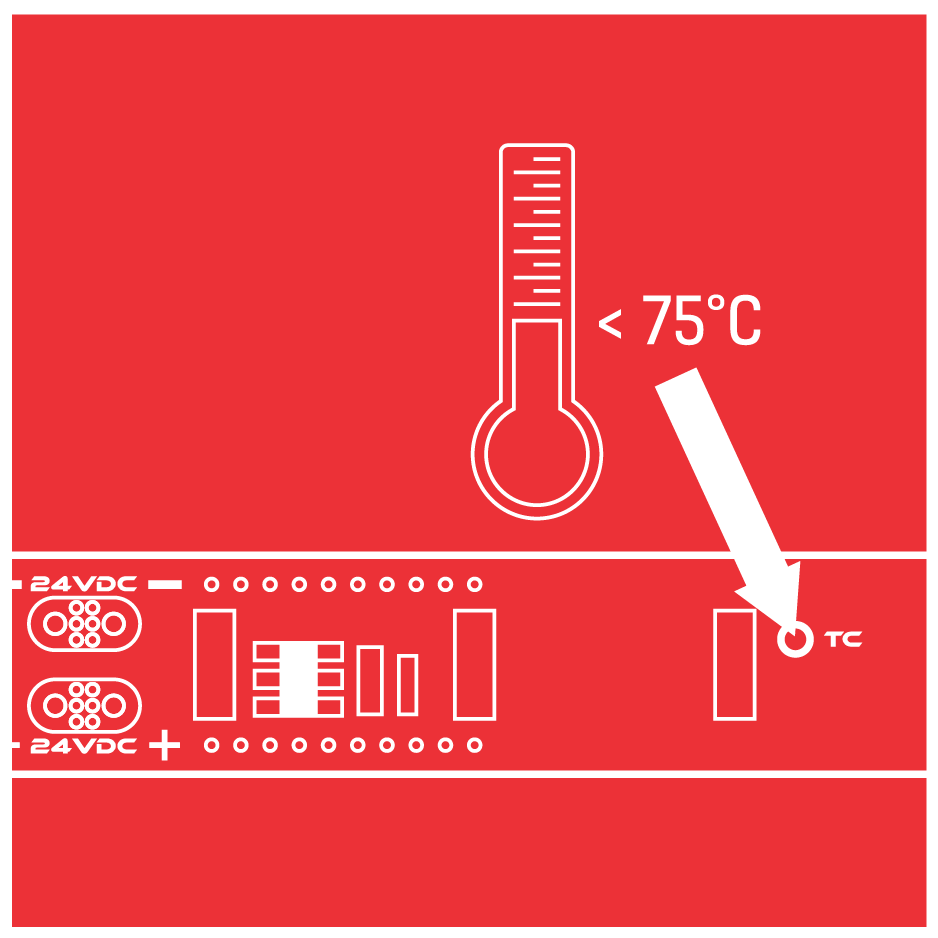
9. LED tapes must be installed on aluminum (or material with similar thermal conduction) to avoid LEDs overheating and ensure proper heat dissipation. Measure TC temperature after 30 minutes of operation. TC temperature should not exceed 75.
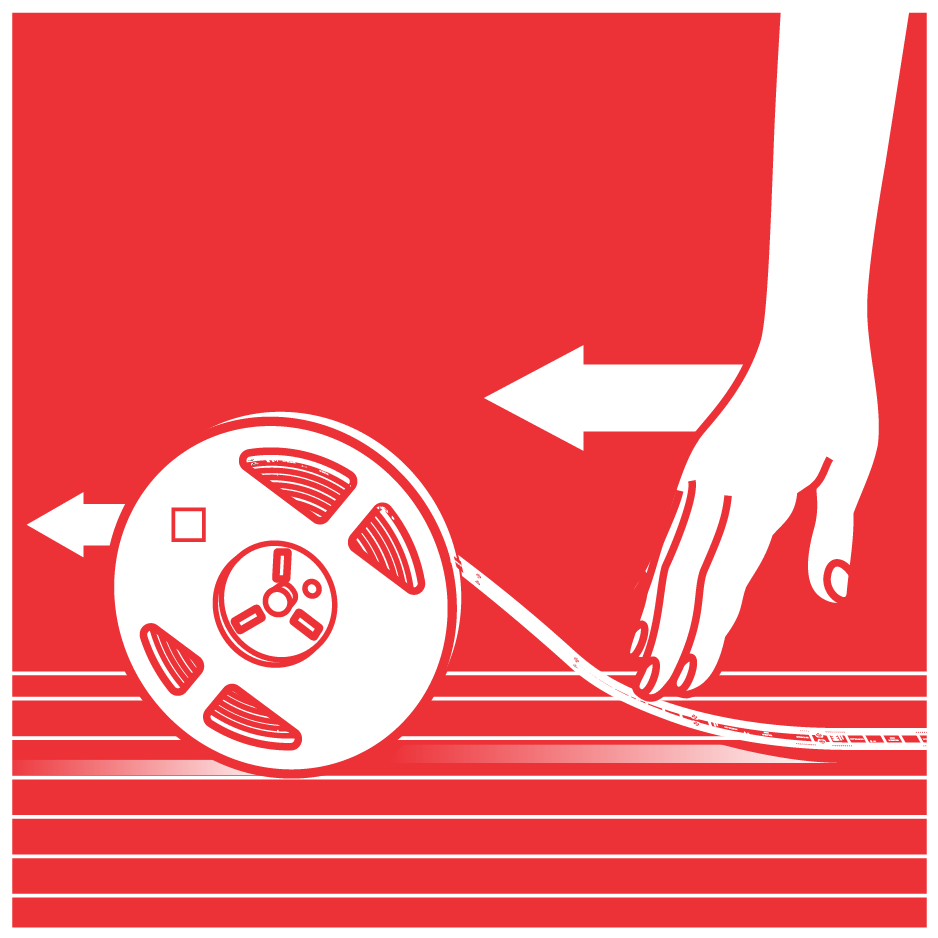
10. Keep the LED tape on the reel while applying it onto the surface. Remove the adhesive tape and apply the tape while unrolling the reel at the same time.